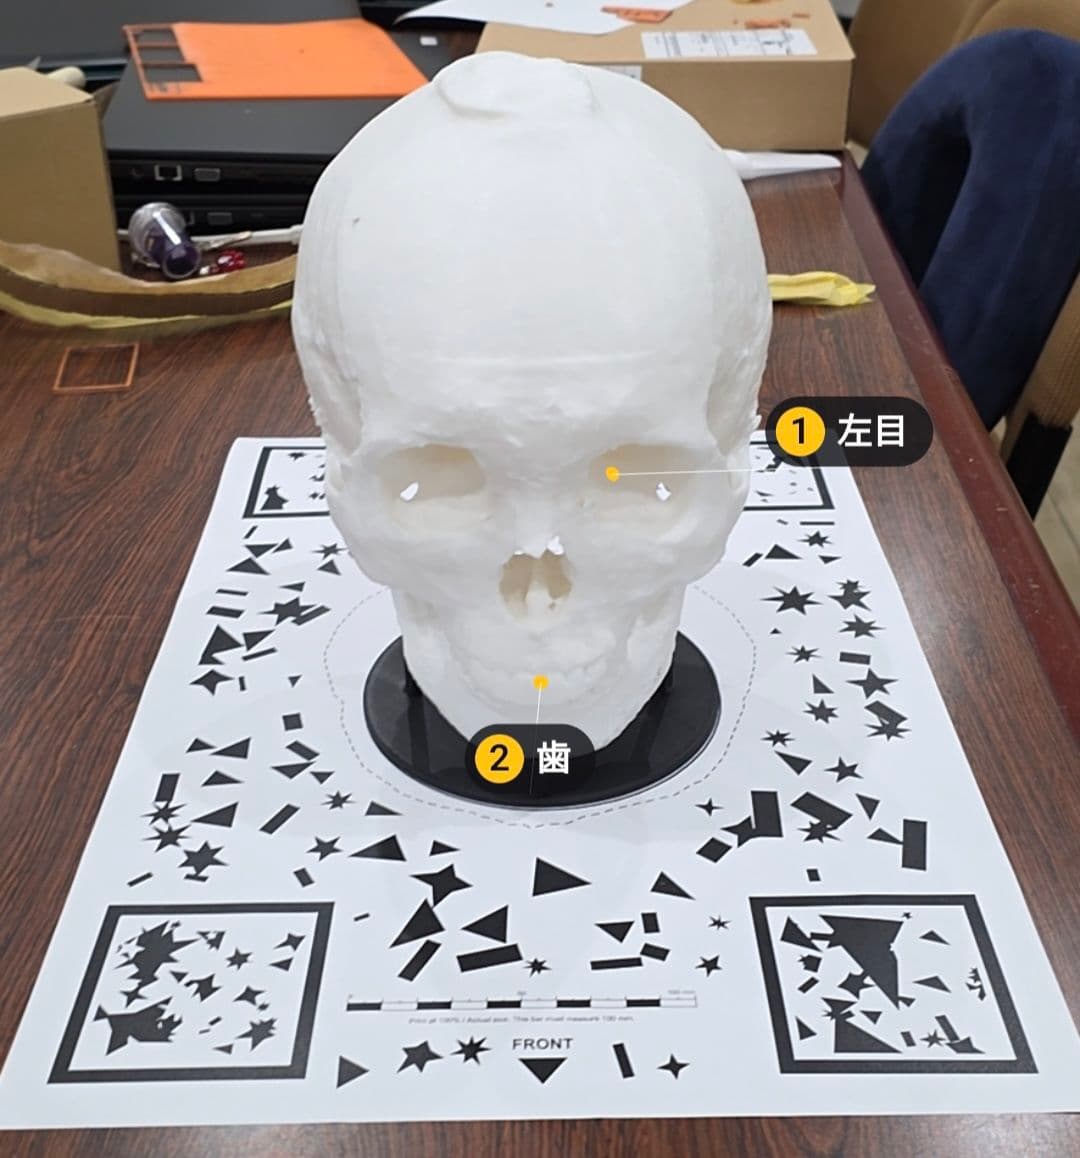
From STL to exhibitSTLから
Upload your STLSTLをアップロード
Drop the file into the Studio. It opens right in your browser, and the file itself never leaves your computer. Check its size, choose the face it stands on, and point the FRONT arrow at your visitors.STLファイルをスタジオにドロップします。ファイルはブラウザの中で開かれ、パソコンの外には送信されません。サイズを確認し、接地する面を選んで、FRONT矢印を来場者の方へ向けます。
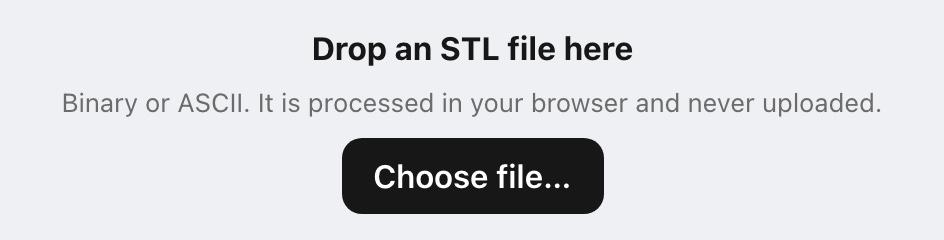
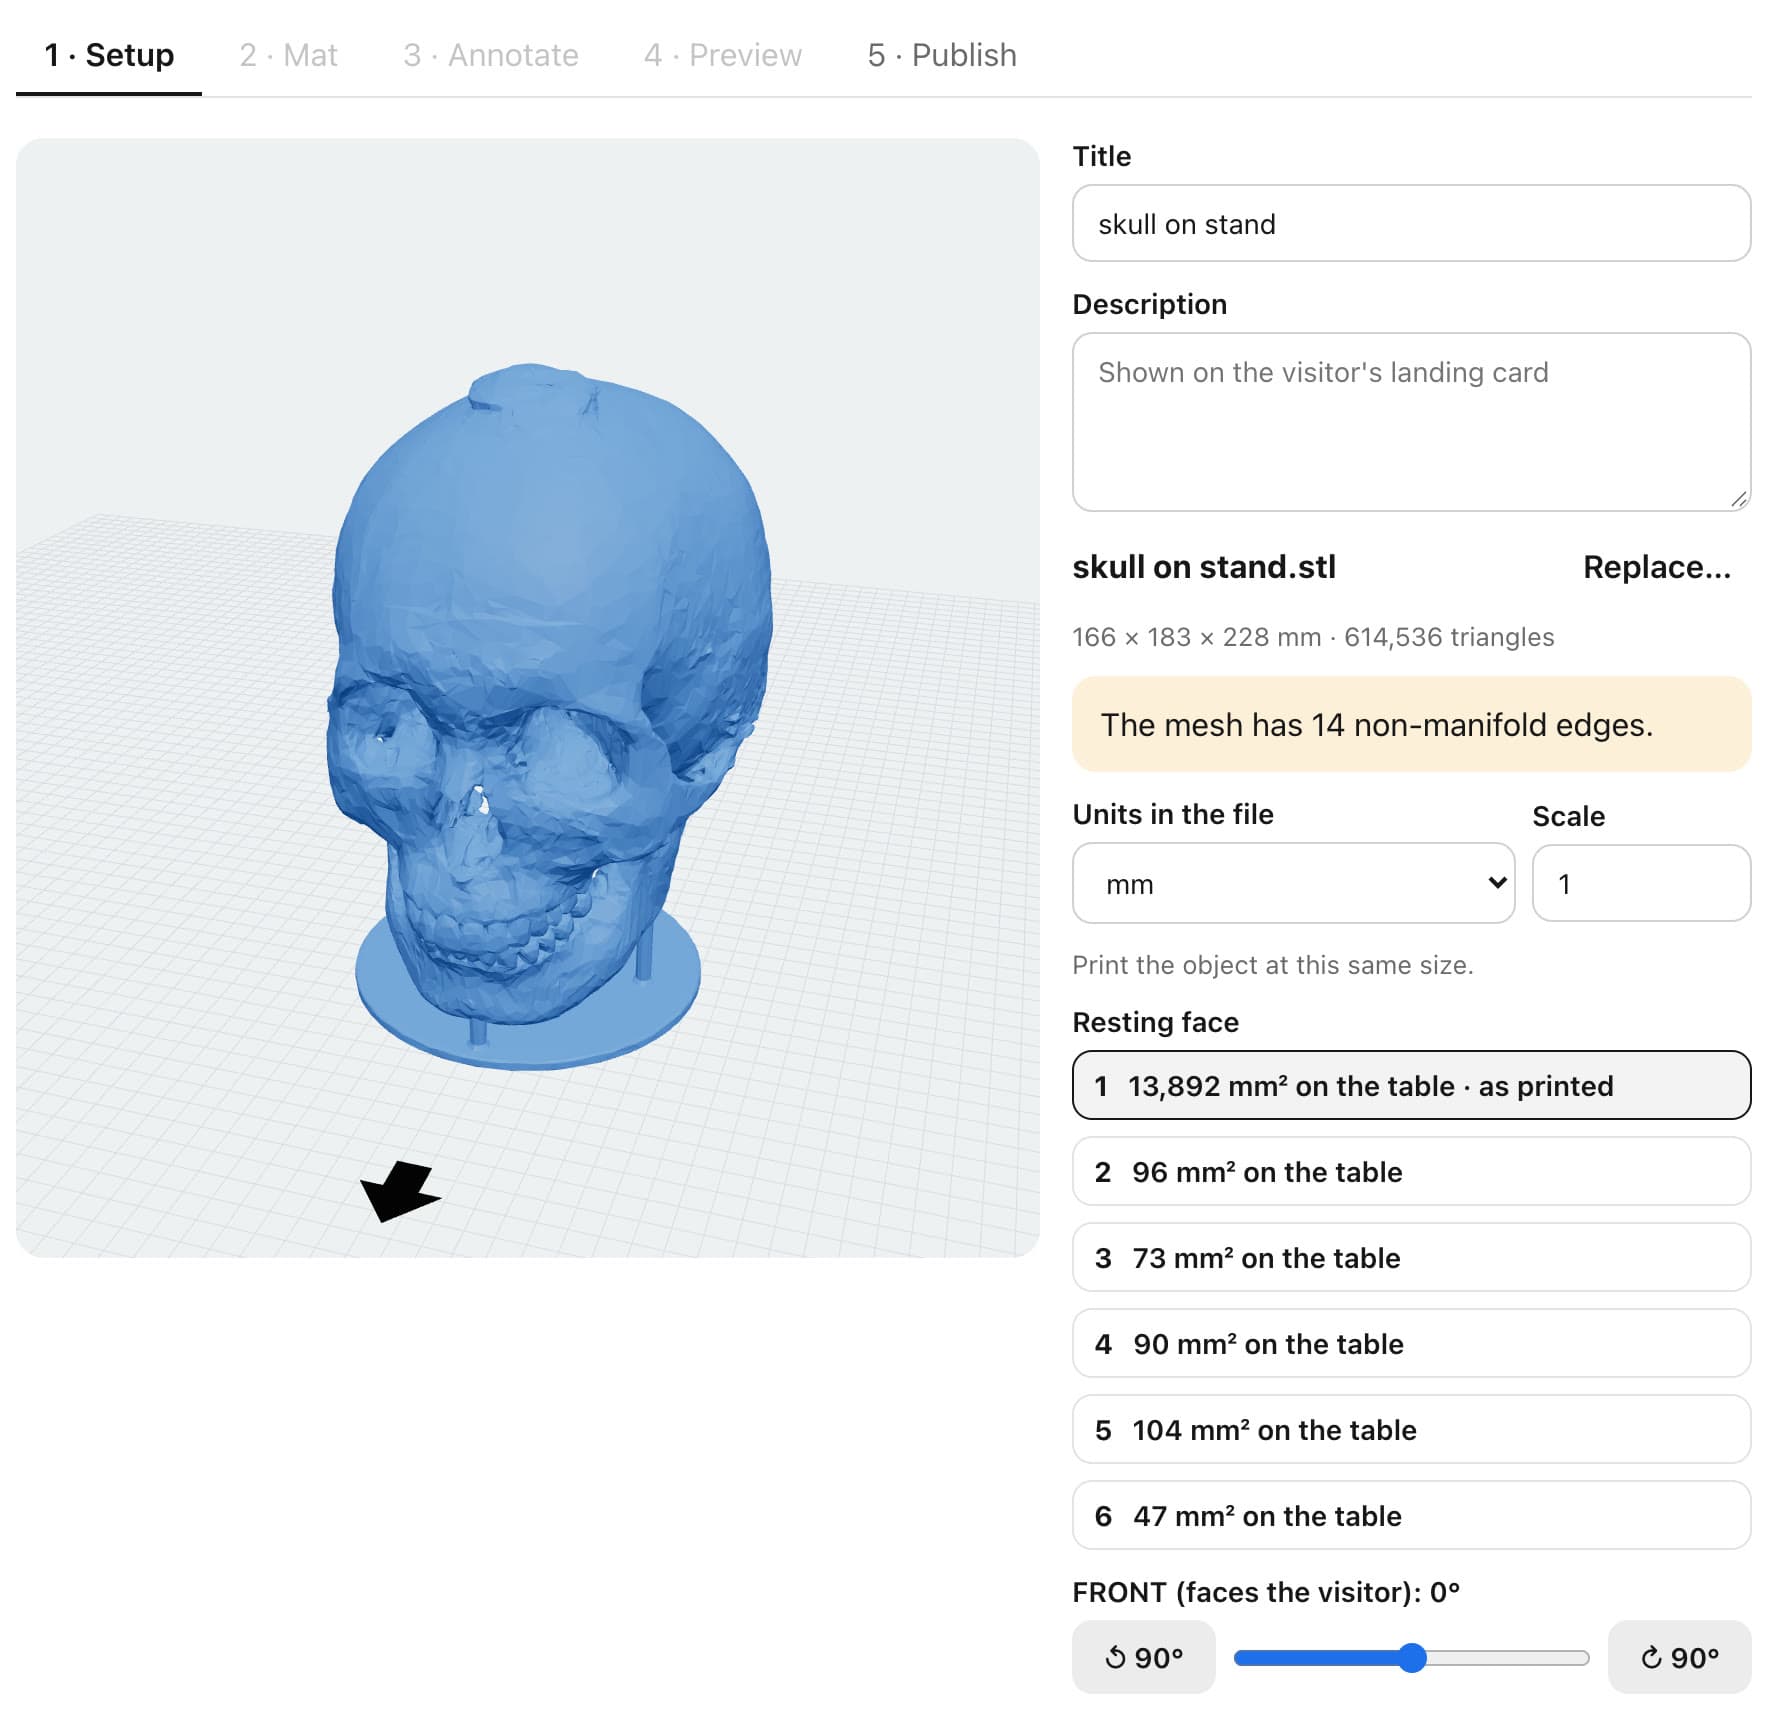
A moment after the drop, the model stands on its base, with its size, the faces it can rest on and the FRONT setting beside it.ドロップするとすぐ、モデルが台座で立った状態で表示され、横にサイズ、置き方の候補、FRONTの向きが並びます。 Mark what matters見どころに
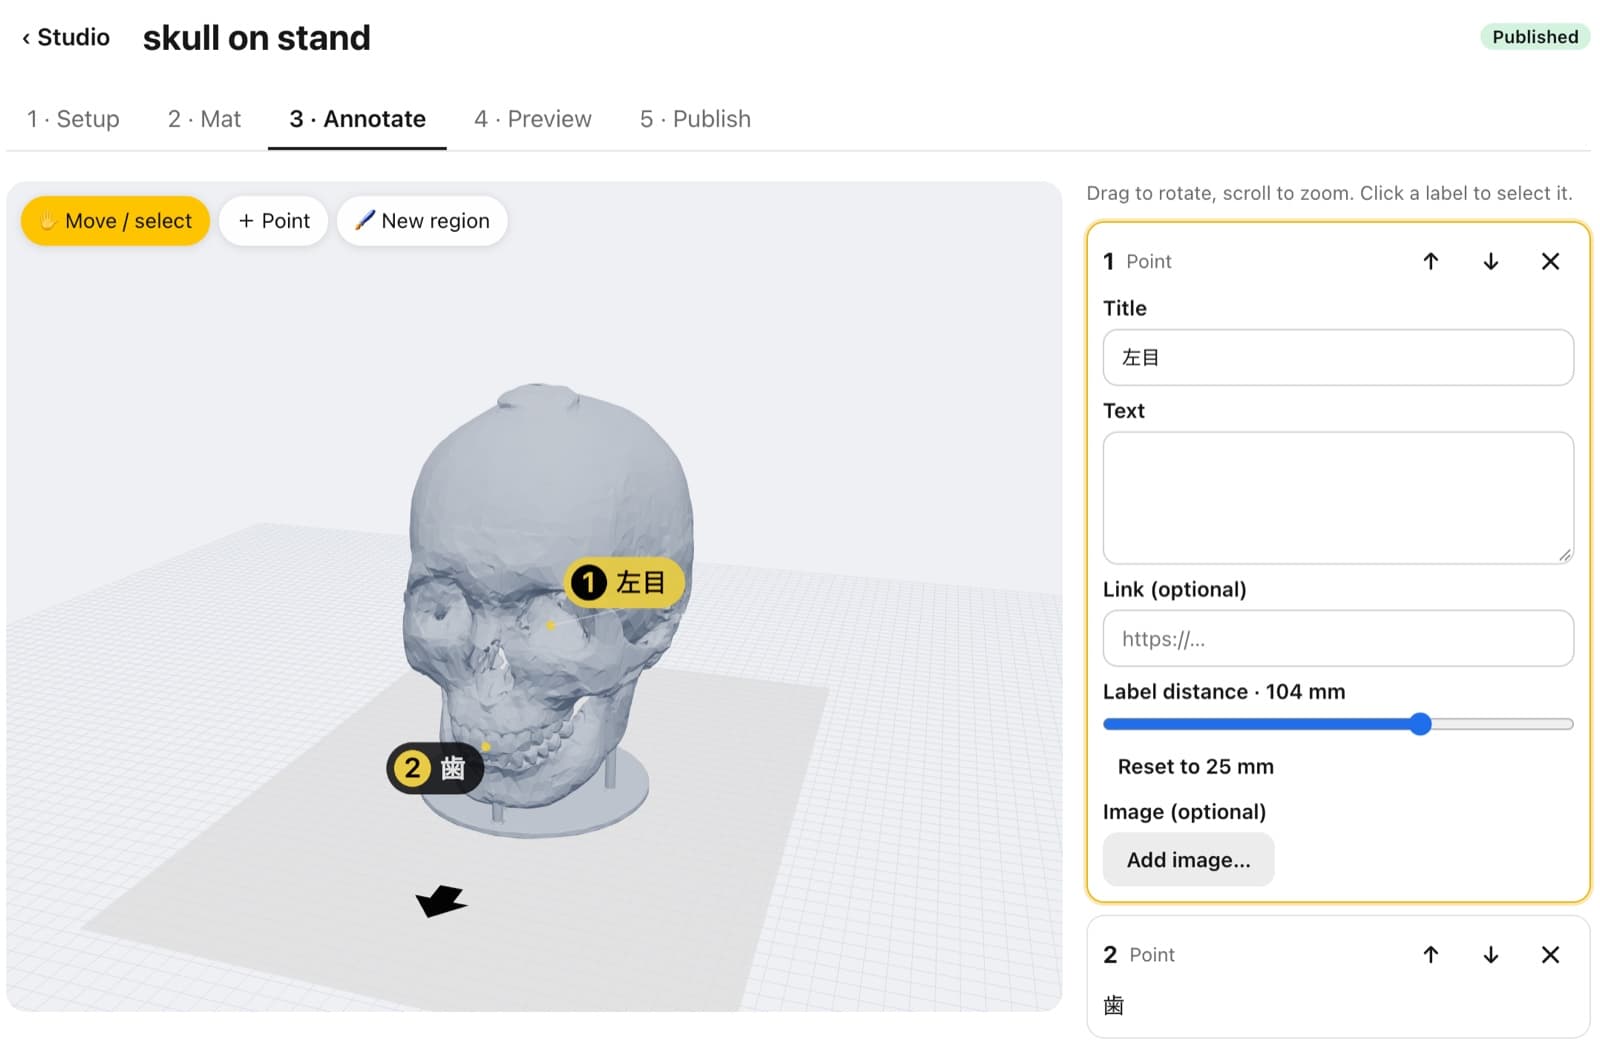
印をつける Drop points or paint regions on the model. Give each a title and text, an optional image or link, and a place in the guided tour.モデルにポイントを置いたり、領域を塗ったりします。それぞれにタイトルと説明、必要なら画像やリンク、ガイドツアーの順番を設定できます。
Print the matマットを印刷
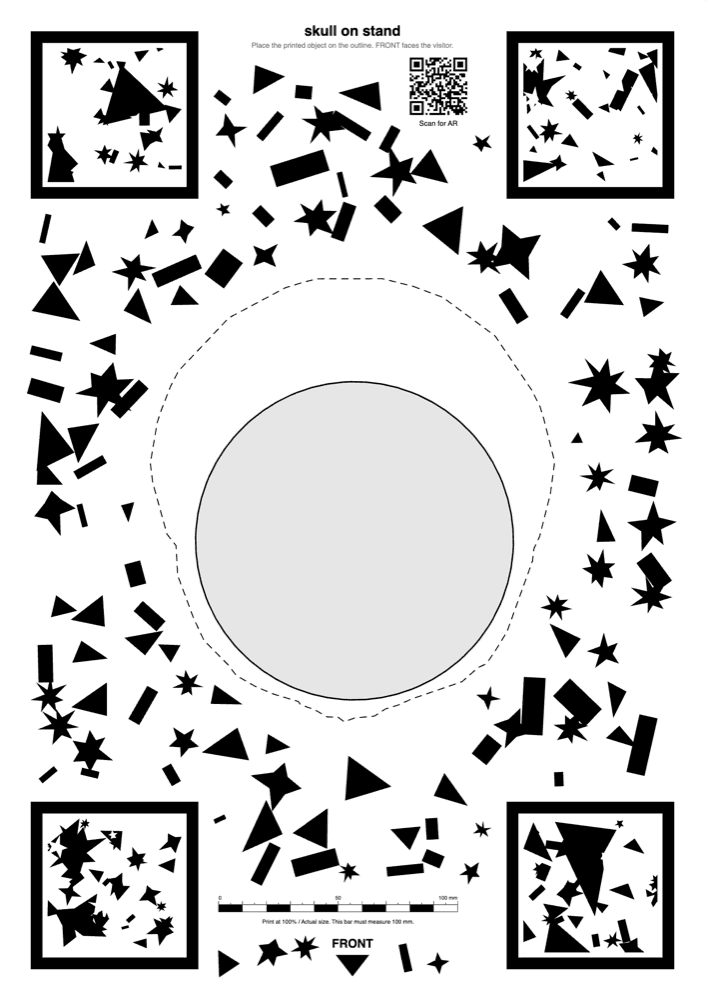
One sheet, A4 to A3 or Letter to Tabloid, with the outline, a FRONT arrow, four markers and the QR code. Print at 100 %, check the 100 mm bar, and stand the print on its outline.輪郭、FRONT矢印、4つのマーカー、QRコードが入った1枚(A4〜A3、レター〜タブロイド)。100%で印刷して100 mmの目盛りを確認し、輪郭の上にプリントを置きます。
Visitors see it in AR来場者が
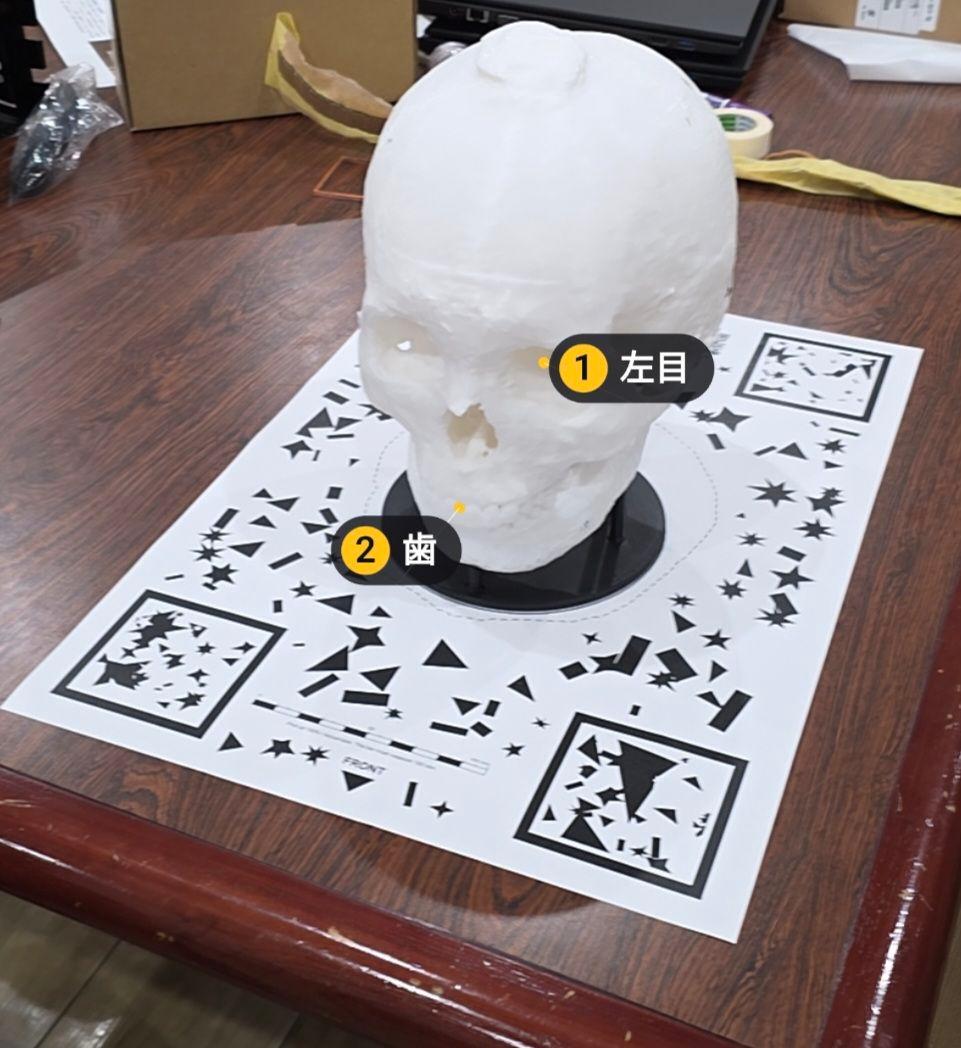
ARで見る They scan the QR code on the mat, tap Start AR and point the phone at the mat, with no app to install. Your labels sit on the real object, hide behind it and fade when seen from behind. You calibrate once on your own phone, for everyone.マットのQRコードを読み取り、「Start AR」をタップしてマットにスマートフォンを向けるだけ。アプリのインストールは不要です。ラベルは実物の上に表示され、裏側では隠れ、背面からは薄くなります。位置合わせはあなたのスマートフォンで一度だけ。全員に反映されます。
Or view it in 3D3Dでも
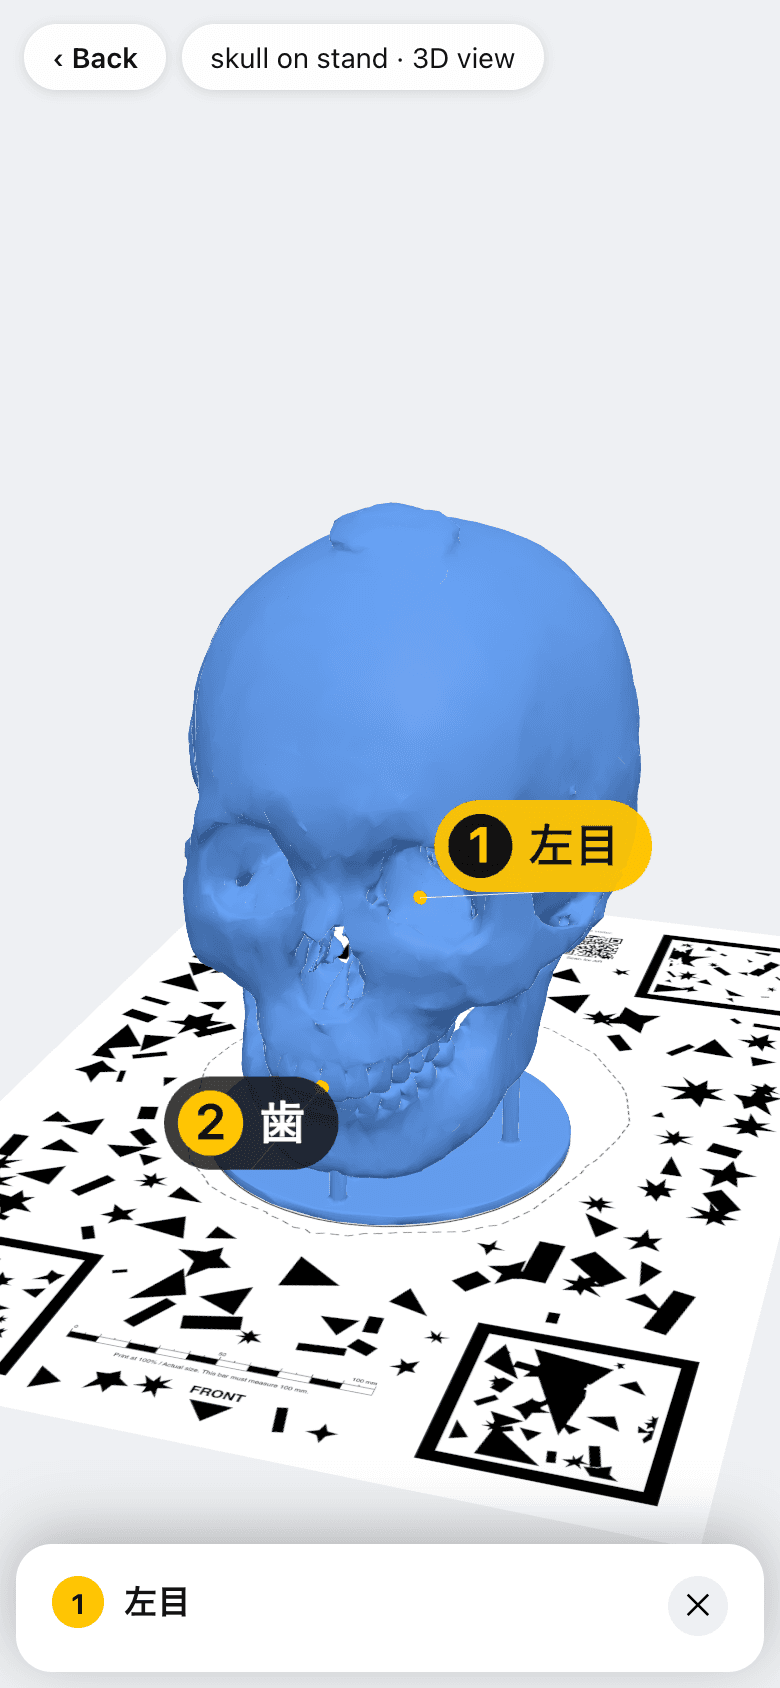
見られる View in 3D shows the model standing on its printed mat, right in the phone's browser. Anyone can turn it and tap your labels, even on a phone without AR or far from the exhibit.「View in 3D」を選ぶと、印刷したマットの上に立つモデルがスマートフォンのブラウザに表示されます。AR非対応のスマートフォンでも、展示から離れた場所でも、モデルを回してラベルをタップできます。
Try it on this screenこの画面で試す
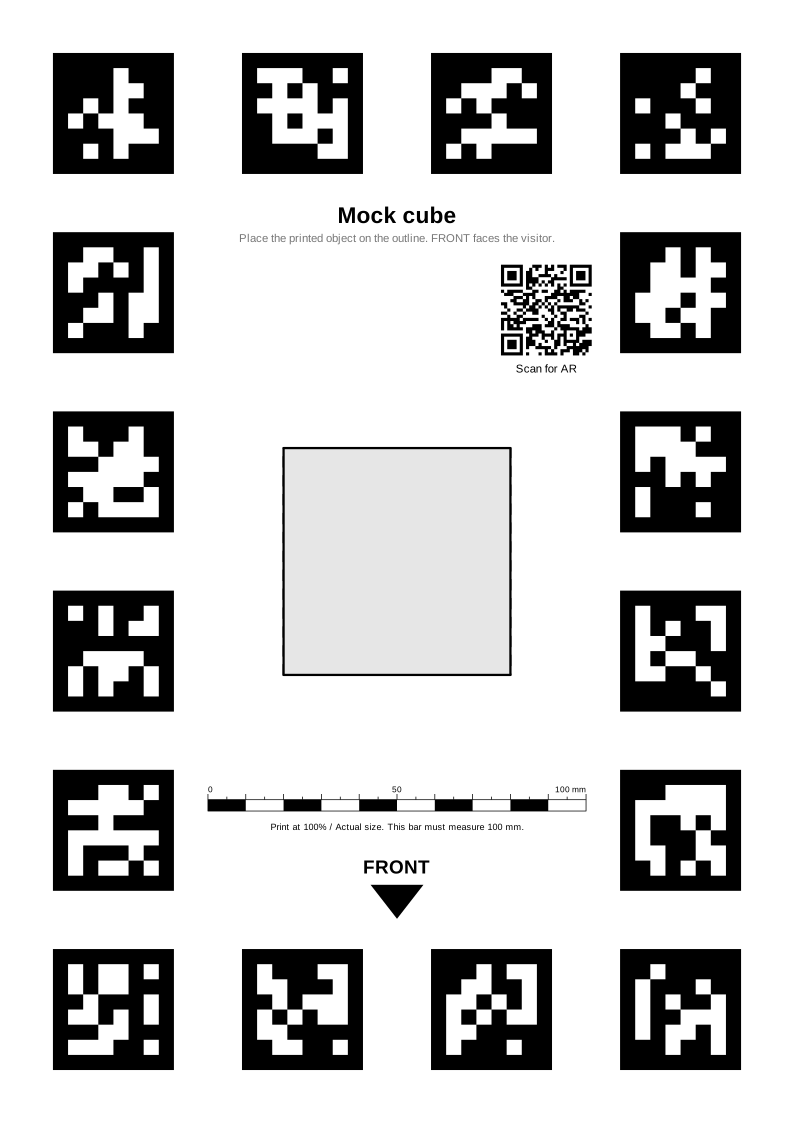
This is a real placement mat, made for a 60 mm test cube. Your screen stands in for the paper.これは60 mmのテスト用キューブのための、本物の配置マットです。紙のかわりに画面を使います。
- Scan the QR code with your phone.スマートフォンでQRコードを読み取ります。
- Tap Start AR and point the camera at the mat on this screen.「Start AR」をタップし、この画面のマットにカメラを向けます。
- The cube appears on its outline with two labels. Tap one.輪郭の上にキューブが現れ、ラベルが2つ表示されます。タップしてみてください。
Scan to open the demo読み取って
On a phone already? Open this page on a computer and scan the mat from there, or open the demo in 3D here.スマートフォンで見ている場合は、パソコンでこのページを開いてマットを読み取るか、ここで3D表示のデモを開いてください。
AR runs in Chrome on Android with chrome://flags/#webxr-incubations turned on. iPhone and other browsers show the 3D view. A screen is only a stand-in: on a mat printed at 100 %, the labels sit on a real object.ARはAndroidのChromeで chrome://flags/#webxr-incubations を有効にすると動きます。iPhoneやその他のブラウザでは3D表示になります。画面はあくまで代用です。100%で印刷したマットなら、ラベルは実物の上に重なります。
Print it instead (PDF, A4)印刷して試す(PDF・A4)Open the demo on this deviceこの端末でデモを開く
What it doesできること
- Any printed shapeどんな形でも
- Tracking reads only the paper mat, so there is nothing to scan or train.位置合わせに使うのは紙のマットだけ。物体のスキャンや学習は不要です。
- Your STL stays with youSTLは手元に
- Parsing, simplifying and mat-making run in your browser. Only the simplified model is uploaded.読み込み、軽量化、マット作成はブラウザ内で行います。アップロードされるのは軽量化したモデルだけです。
- A mat in one clickマットはワンクリック
- PDF or SVG with the outline, a FRONT arrow, a 100 mm check bar and the QR code. Bigger objects tile across sheets.輪郭、FRONT矢印、100 mmの確認用目盛り、QRコード入りのPDFまたはSVG。大きな物は複数枚に分けて印刷できます。
- Points and painted regionsポイントと塗り領域
- Each with a title, text, an optional image and link, and its place in the guided tour.それぞれにタイトル、説明、画像やリンク(任意)、ガイドツアーの順番を設定できます。
- Labels that behave自然なラベル
- The printed object hides the labels behind it, and labels fade when seen from behind.実物の裏側にあるラベルは隠れ、背面から見ると薄くなります。
- No app for visitors来場者はアプリ不要
- Android Chrome runs it with WebXR. iPhone opens it through an App Clip (not yet tested on a device). Other browsers show a 3D view.AndroidのChromeはWebXRで表示します。iPhoneはApp Clip経由(実機では未検証)。その他のブラウザでは3D表示になります。
- Calibrate once位置合わせは一度だけ
- Nudge the model into place on a phone. It is saved for every visitor.スマートフォンでモデルの位置を微調整すると、すべての来場者に反映されます。
- Your exhibits, kept展示はスタジオに保存
- Sign in once. Drafts and published exhibits wait in your Studio, ready to edit.一度サインインすれば、下書きも公開した展示もスタジオに残り、いつでも編集できます。
Made for museums and galleries, classrooms and science centres, design and architecture studios, and anyone with a 3D printer.博物館や
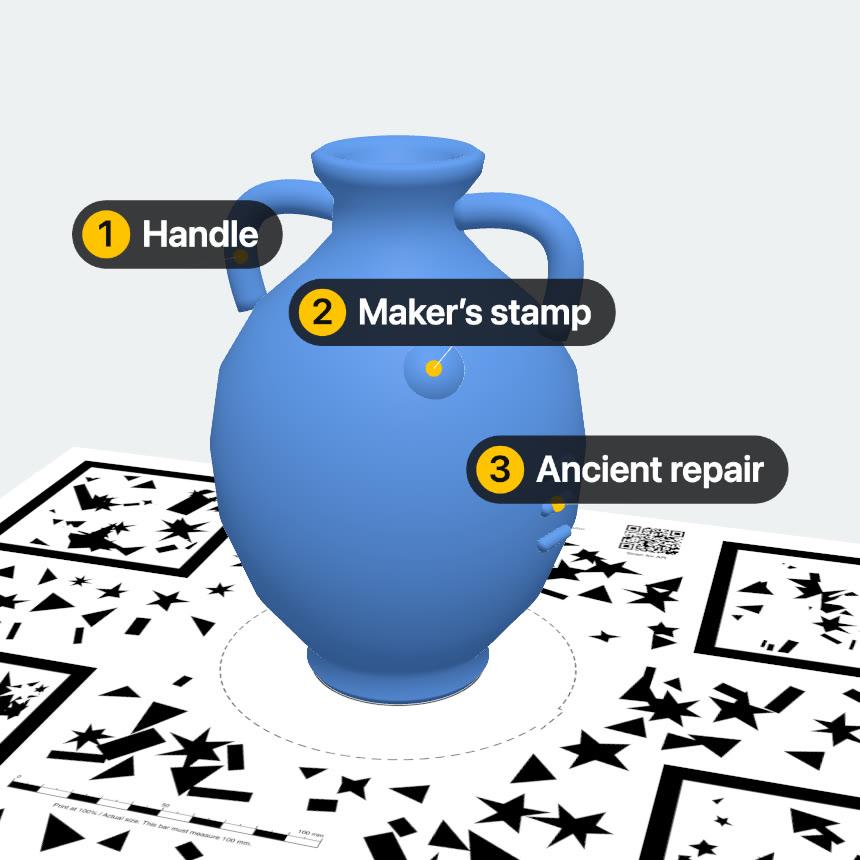
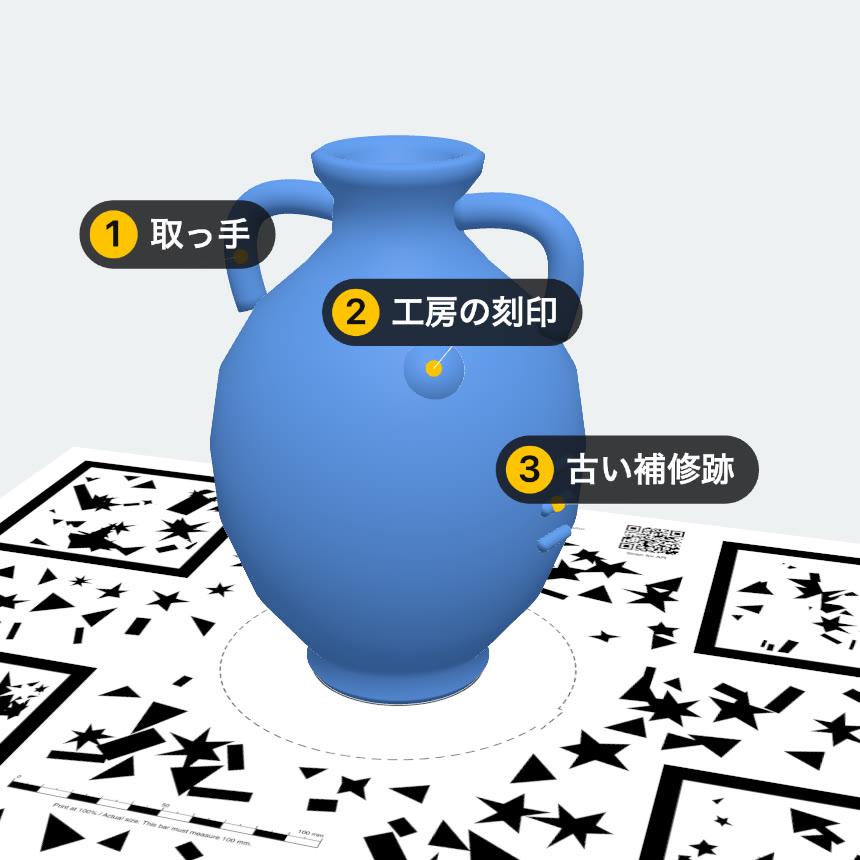
Museums and galleries博物館・ギャラリー
Set a replica beside the original and point out the maker’s stamp and an ancient repair on the object itself.原品の隣にレプリカを置き、工房の刻印や古い補修跡を、モノの上で直接示せます。
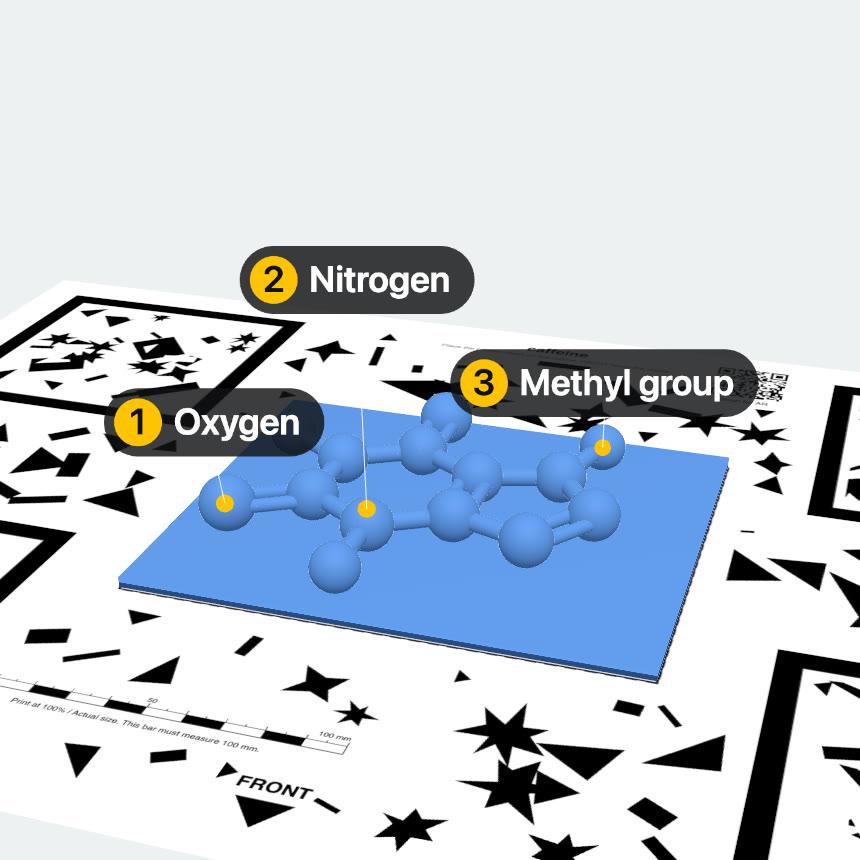
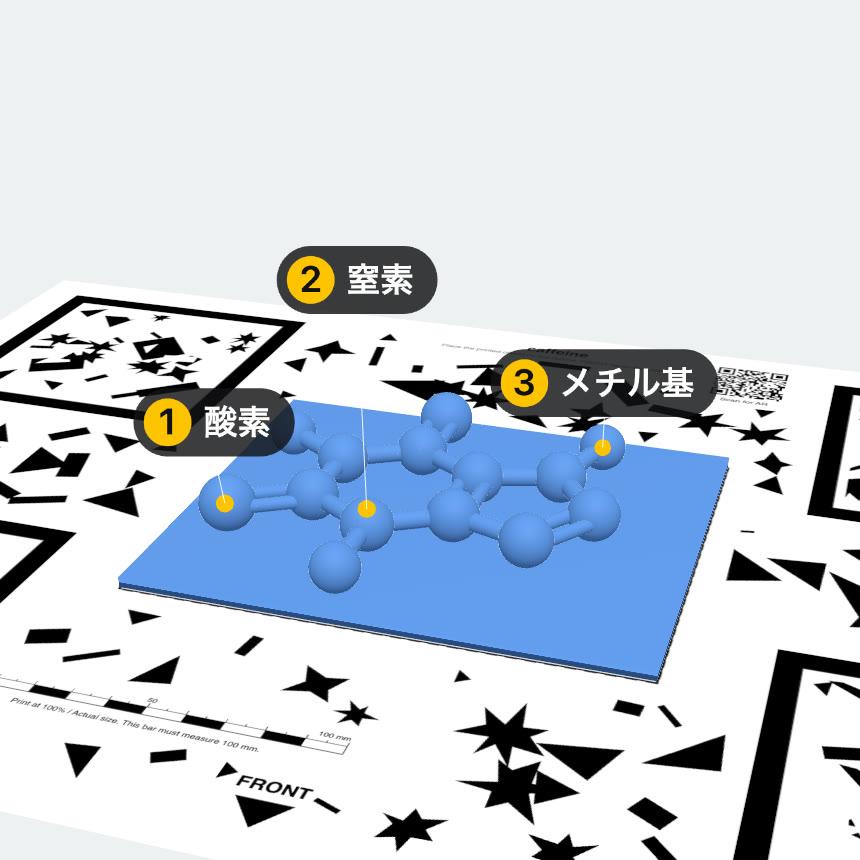
Classrooms and science centres教室・科学館
Pass round a caffeine molecule with its oxygen, nitrogen and methyl groups named where they sit.手から手へ回せるカフェイン分子。酸素、窒素、メチル基の名前が、その位置に出ます。
Design and architecture studiosデザイン・建築事務所
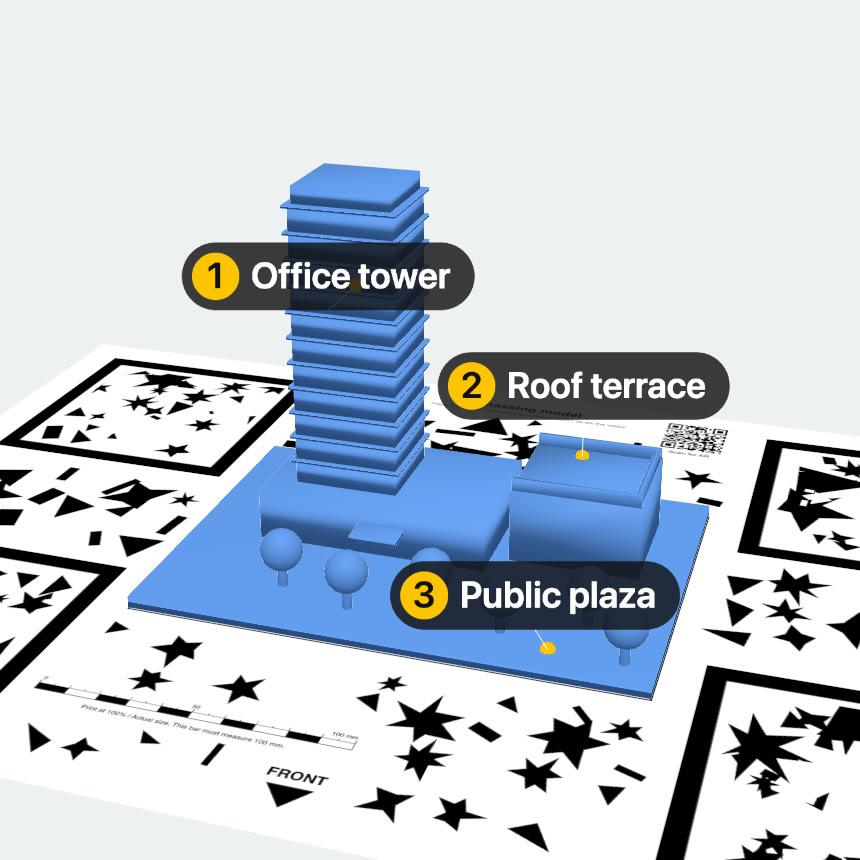
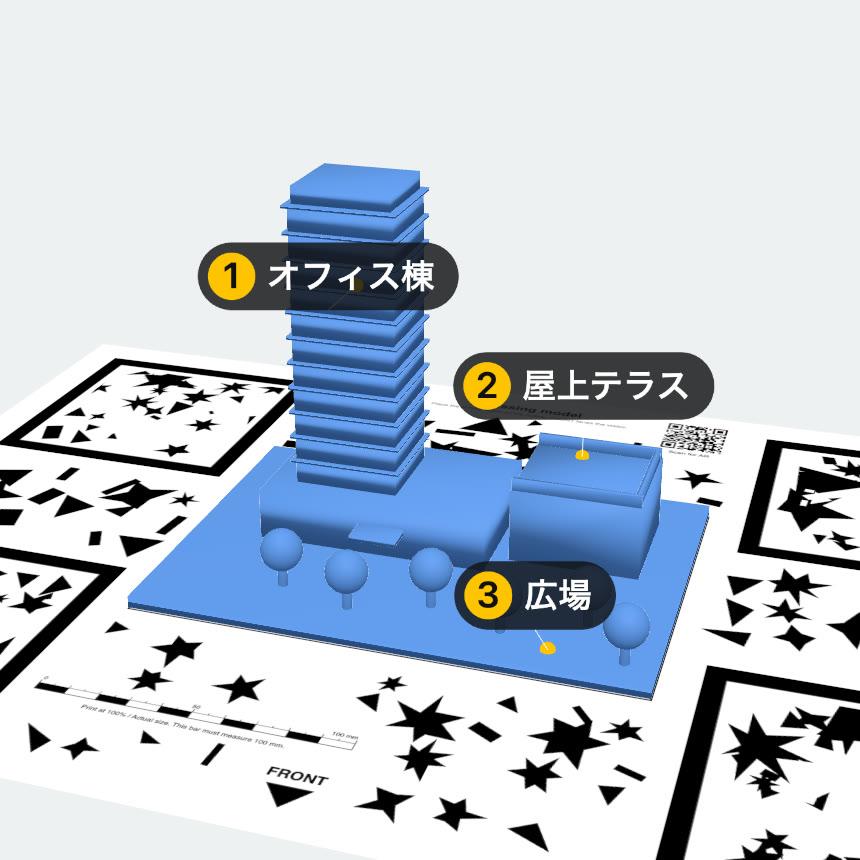
Leave a massing model on the client’s table that names the office tower, the roof terrace and the plaza.クライアントの机に置いた模型が、オフィス棟、屋上テラス、広場を自分で説明します。
Anyone with a 3D printer3Dプリンターを持つすべての人
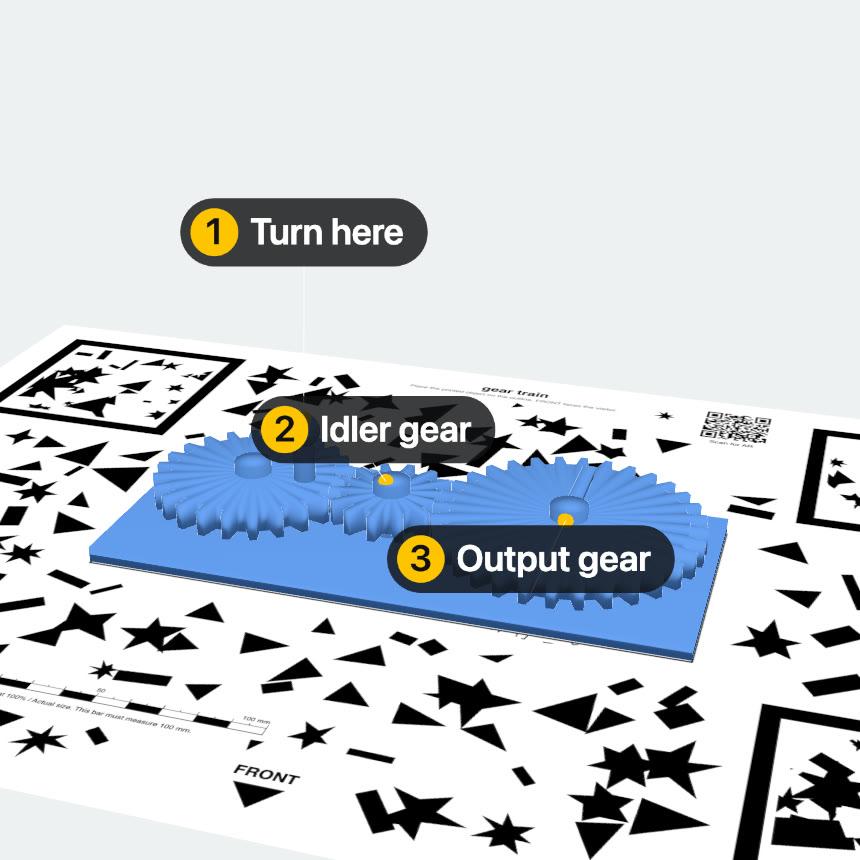
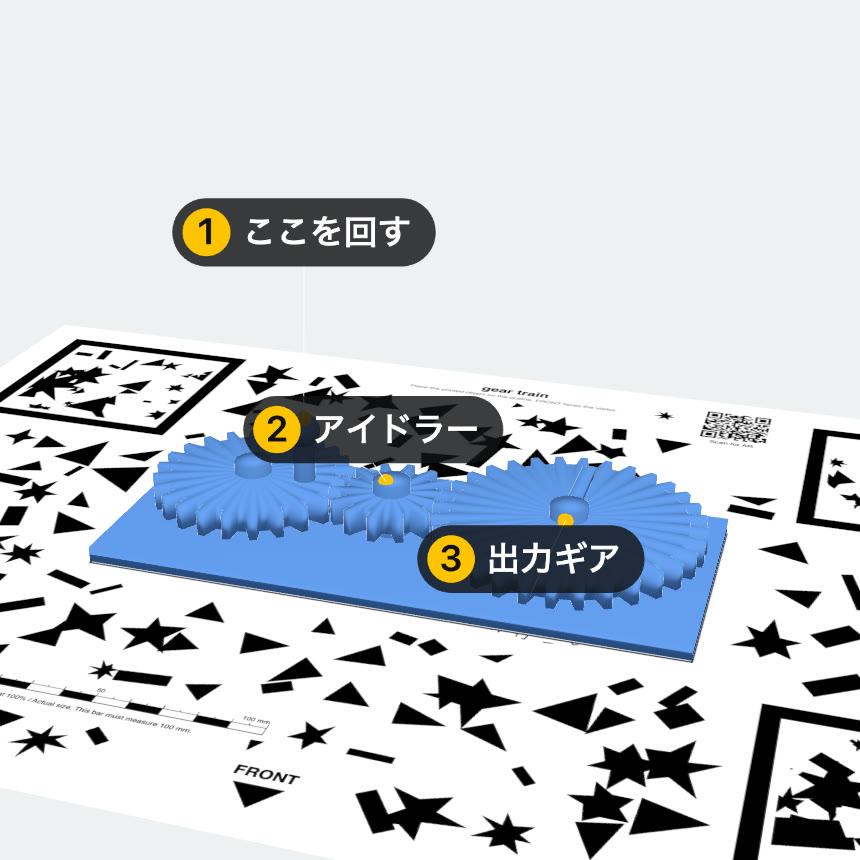
Bring a gear train to a maker fair that shows visitors where to turn it and what each gear does.メイカーイベントに持っていくギア模型に、どこを回すのか、それぞれのギアの役目を表示します。
Example models made for this page. Each was labelled in the Studio and is shown in its Preview, the same 3D view as step 5.このページのために作った例のモデルです。それぞれスタジオでラベルを付け、プレビューで表示しました。ステップ5と同じ3D表示です。
Free and open source無料・
ExhibitAR is licensed under Apache 2.0. Read the code, run your own copy, or help build it.ExhibitARはApache 2.0ライセンスで公開しています。コードを読むのも、自分の環境で動かすのも、開発に参加するのも自由です。